Why consider it
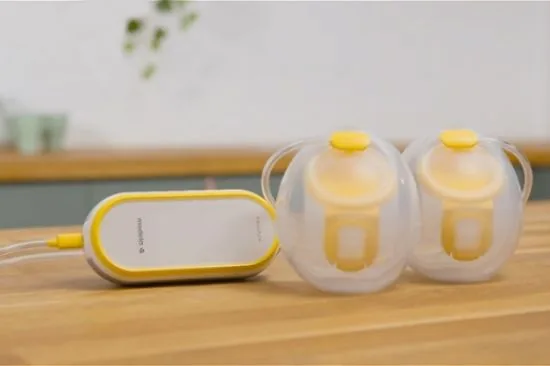
- The separate motor keeps the motor itself out of the collection cups.
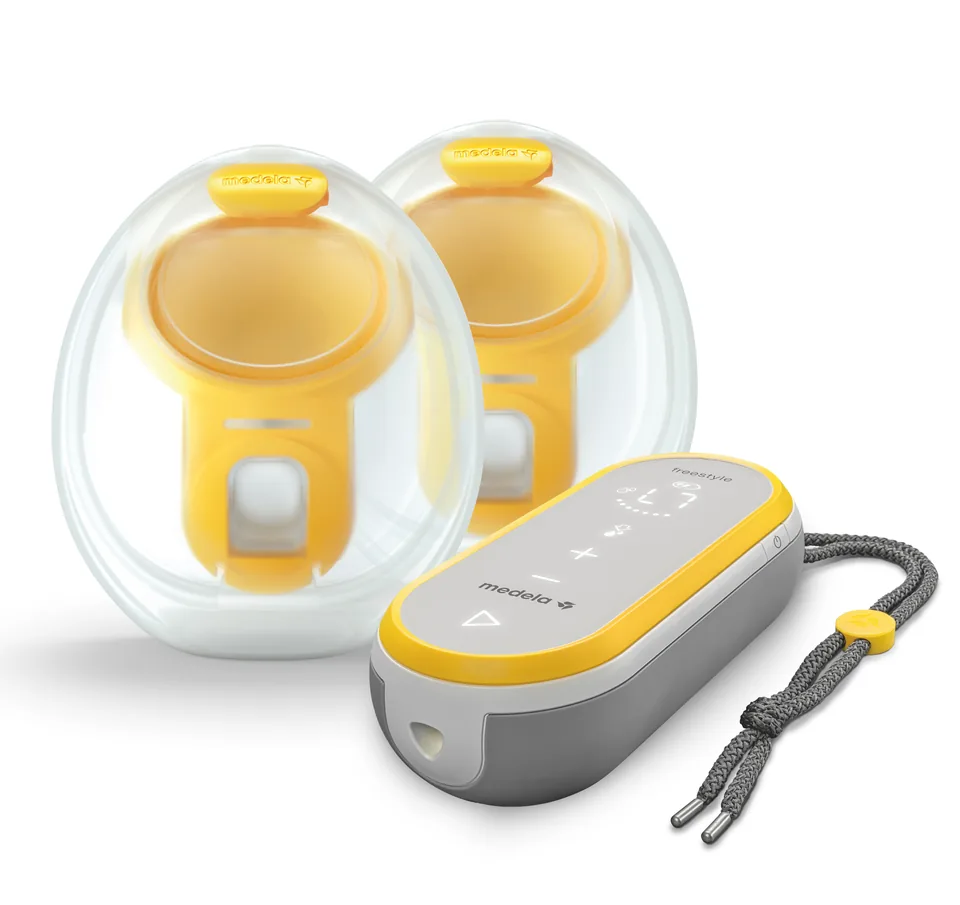
- Transparent cups let you inspect nipple alignment and watch the collected level.
What to consider
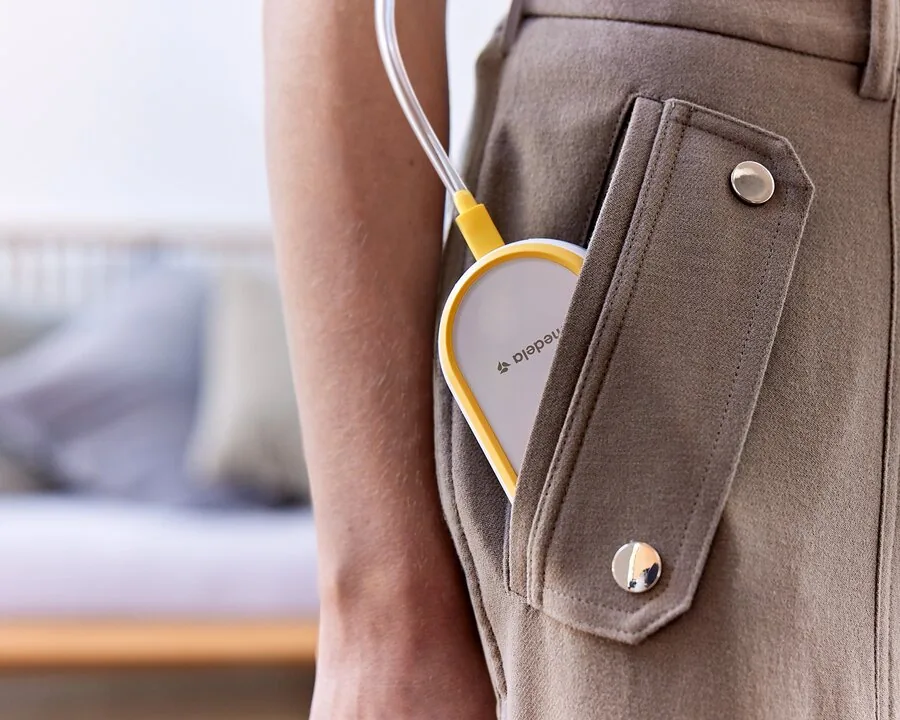
- You still need to carry the motor and route tubing between it and the cups.
- There is no automatic full-cup shutoff; milk must be transferred to a storage container after pumping.
Specifications
At a glance
- Power
- Built-in rechargeable battery; USB-C cable and adapter
- Milk collection
- Two in-bra cups connected by tubing to a separate motor; 5 oz / 150 ml each
- Fit options
- 21 mm and 24 mm cup breast shields
- Pumping options
- Single or double
- Modes
- Stimulation and expression
- Cup assembly
- Three main parts per cup
- What comes with it
- The US kit includes the motor, two 5 oz cups, 21 mm and 24 mm cup shields, tubing, a USB-C cable and power adapter.
- Fit & feel
- The motor stays off the cups, while transparent collection shells help you see nipple alignment when positioning them.
Details, care & buying
Full specifications & kit details
- Power
- Built-in rechargeable battery; USB-C cable and adapter
- Milk collection
- Two in-bra cups connected by tubing to a separate motor; 5 oz / 150 ml each
- Fit options
- 21 mm and 24 mm cup breast shields
- Pumping options
- Single or double
- Modes
- Stimulation and expression
- Adjustment
- Nine vacuum levels in each phase
- Cup assembly
- Three main parts per cup
Kit & specification notes
This is Freestyle Hands-free, not Freestyle Mini, Freestyle Flex with bottles, or a fully integrated InBra pump. The comparison describes the documented US cup kit. Medela also supports a separately purchased classic collection setup; it is not treated as an included bottle kit here.
Manufacturer-listed specifications checked . Medela product details ↗
Set up one cup or two
For two-sided pumping, the long tube connects to the motor and each short end connects to a cup. For one side, connect one cup and insert the unused short tubing end into the Y-shaped tubing holder. Keep the tubing free of kinks.
Check that the cup shell and shield are snapped together around the whole edge before starting. Stop if pumping hurts and seek qualified help for persistent discomfort.
Finish, remove and pour
- Watch the milk level: these cups do not stop automatically when full. Pause to empty a cup if needed.
- At the end, lean slightly forward while the pump is still running so milk in the shield tunnel drains into the cup. Then stop and switch off, detach the cup tubing and carefully remove the cups.
- Set the cups upright on a stable surface. Pour through the spout with the rounded outer shell facing down. Transfer to a storage bottle or container; the cups are not for storing milk.
Follow the storage and labeling guidance for the transferred milk. Keep tubing out of washing and rinsing; plan time to clean and dry the cup pieces.
Source: Medela’s US Freestyle Hands-free instructions. Single-side setup and milk transfer checked October 16, 2026 for the external motor and Hands-free Collection Cups. Other profile facts retain their existing check scope.
Before you order
Compare the exact kit, compatible spare parts, return terms and warranty for your seller. Use the cost planner to include any extras you need. If using a US plan, start with the insurance checklist.
View manufacturer detailsManufacturer videos
We have not verified an exact-model manufacturer video for this profile. Use Instructions & support, including Medela: Freestyle Hands-free instructions, including single and double setup, and the instructions supplied with your kit.
Instructions & support
- Instruction manual (PDF)Medela: Freestyle Hands-free instructions, including single and double setup ↗
- Model and kit detailsMedela: US Freestyle Hands-free kit and FAQs ↗
- Related manufacturer informationMedela: Freestyle Hands-free controls and collection options ↗
Sources & further reading
Sources checked . Product packages and guidance can change.
- Medela: US Freestyle Hands-free kit and FAQs
- Medela: Freestyle Hands-free controls and collection options
- Medela: Freestyle Hands-free instructions, including single and double setup
Overview checked October 8, 2026; kit and fit details checked October 8, 2026. By Breast Pump Clarity. These scoped checks do not recheck every specification.